

How to Take Body Measurements Accurately
A beautifully sewn garment can still feel disappointing if the fit is off. A waistband that digs in, a shoulder seam that slips backwards or a bodice that pulls across the bust can usually be traced back to one small stage: measuring. Learning to take body measurements accurately gives you a far stronger starting point for choosing a pattern size, adjusting a pattern and making clothes you will genuinely want to wear.
You do not need a fashion studio or an assistant with decades of experience. You need a flexible tape measure, a few quiet minutes and a willingness to record what you find without judgement. Bodies change, ready-to-wear sizing varies wildly, and a number on a tape measure is simply useful information for your next project.
Before you take body measurements accurately
Measure over close-fitting underwear or light, fitted clothing. Thick jumpers, jeans and layers add bulk and hide the natural shape of the body, so save those for another day. Stand comfortably with your weight balanced on both feet. Do not hold your breath, pull your stomach in or try to stand unusually straight. The goal is a garment that works while you move through an ordinary day, not one that only fits during a very determined pose.
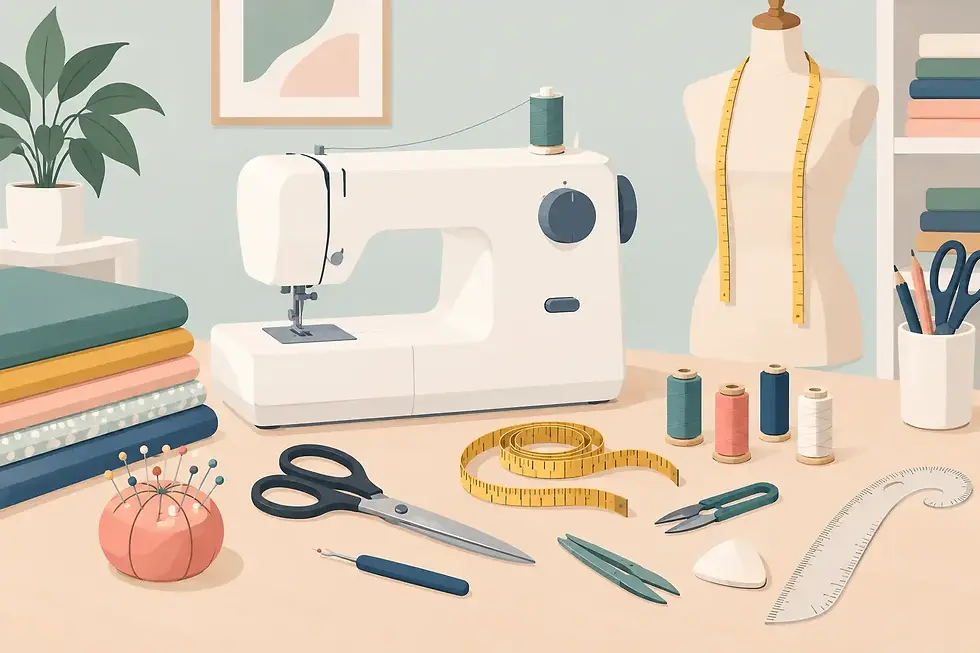
A soft dressmaker's tape measure is essential. Metal builder's tapes do not curve around the body and tend to give misleading results. It also helps to have a mirror, a notebook or notes app, a length of narrow elastic or ribbon, and a friend if one is available. A friend is particularly helpful for back waist length, shoulder measurements and any measurement that needs the tape to stay level around your body.
Tie the elastic gently around your natural waist before you begin. Your natural waist is usually the narrowest point of your torso, often found by bending gently to one side and noticing where the crease forms. Leave the elastic there while you measure. It becomes a reliable reference point for the waist, bodice length and hip depth.
Take each measurement twice. If the two figures differ, take it a third time and use the measurement that appears most consistently. Write down whether a measurement is your body measurement or a finished garment measurement. They are not the same thing, and confusing them causes plenty of avoidable fitting frustration.
The key measurements for dressmaking
Every pattern will tell you which measurements matter most, so read the pattern envelope or instruction sheet before reaching for the tape. For many garments, the bust, waist and hip will guide your starting size. For trousers, the waist, hip, rise and inside leg become more significant. For a fitted blouse or dress, shoulder and bodice length can make a real difference too.
Bust, waist and hip
Measure the full bust around the fullest part of the bust, keeping the tape level across the back. It should sit snugly against the body without squeezing. Check in the mirror that it has not dipped at the back, as a low tape measure can add several centimetres and lead you to choose a pattern size that is too large.
Measure the waist over the elastic marker. Again, the tape should be comfortably close, not pulled tight. If you prefer a little room at the waist in your clothes, record your actual waist measurement first. Ease is added when you choose or alter the pattern, rather than when you measure your body.
For the full hip, stand with your feet together and measure around the fullest part of your hips and seat. This is not always at the same height for everyone. Slide the tape gently up and down until you find the widest point, keeping it parallel with the floor. If you are making a skirt, trousers or fitted dress, this is one measurement worth taking with particular care.
High bust and full bust
The high bust is measured around the chest, above the fullest part of the bust and under the arms. It is especially useful when choosing a bodice pattern size. Many commercial patterns are drafted for a specific cup size, so selecting a size by full bust alone can make the shoulders, neckline and upper chest too roomy.
If your high bust and full bust suggest different sizes, use the high bust to assess the upper-body fit, then consider a full bust adjustment where needed. This can sound advanced, but it is simply about creating enough space at the bust without making the rest of the bodice oversized. A toile, or practice version in inexpensive fabric, is a kind way to test this before cutting into your favourite cloth.
Back waist length and shoulder width
Back waist length is measured from the prominent bone at the base of the neck, down the centre back, to the natural waist elastic. Ask a friend to help if possible. This measurement can explain why a bodice waistline sits too high or too low, even when the bust and waist measurements look correct on paper.
For shoulder width, measure from the outer edge of one shoulder to the other across the back, following the natural line where a shoulder seam would sit. Shoulder fit has a quiet but powerful effect on a garment. When it is right, sleeves hang better and the neckline tends to sit more comfortably.
Arm, leg and torso measurements
For sleeve length, begin at the shoulder point and measure down a slightly bent arm to the wrist or wherever you want the sleeve to end. Bending the elbow matters because a sleeve measured on a perfectly straight arm can feel short as soon as you reach for a cup or a bus pole.
Measure the upper arm around its fullest point if you are making close-fitting sleeves. If you have ever made a top that fits beautifully through the body but restricts your arms, this is often the missing measurement.
For inside leg, measure from the top of the inner thigh to the point where you want the hem to finish. It is easiest with help. For trousers, you may also need the front and back rise: measure from the centre front waist, through the legs, to the centre back waist. Keep the tape close to the body but do not pull it taut. This measurement helps a trouser pattern accommodate your shape and your preferred level of comfort.
Measuring yourself versus measuring a friend
You can take many body measurements accurately on your own, particularly bust, waist, hip and upper arm. A mirror makes a noticeable difference because it lets you check that the tape is straight. For back measurements, resist the temptation to twist, stretch or guess. A small error at the back neck can become a surprisingly large fitting issue in a bodice.
If a friend is measuring you, explain that the tape should be firm but not tight. Ask them to call out the figure while you write it down, and keep the process relaxed. There is no such thing as a good or bad measurement. There are only measurements that help you make a better garment.
Use the pattern chart, not the shop label
One of the most freeing things to learn in dressmaking is that pattern size is not a verdict. A high-street size 14 may bear little resemblance to a pattern size 14, and different pattern companies use different blocks. Choose your starting size from the finished pattern measurements and the body measurement chart provided, rather than the number you expect to be.
Also look for the amount of ease built into the design. A loose linen shirt needs more wearing ease than a fitted woven dress. Stretch fabrics behave differently again: a jersey pattern may include negative ease, meaning the finished garment is deliberately smaller than the body so it stretches gently to fit. If you are unsure, compare the pattern's finished garment measurement with a similar item you already enjoy wearing.
When your bust, waist and hip fall across several sizes, it is often better to grade between sizes than force your body into one column on a chart. For example, you might cut one size at the bust, blend to another at the waist, then return to a third at the hip. It is a normal part of dressmaking, not a complication you have caused.
Keep a personal measurement record
Create a simple record with the date, the measurements, the project and any fitting notes. You might write that a particular trouser needed more room at the calf, or that you prefer sleeves one centimetre longer. Over time, this becomes more useful than any standard size chart because it reflects your body and your preferences.
Re-measure before a closely fitted project, after a significant change in weight, or when a previous pattern suddenly fits differently. There is no need to check constantly. The point is to work with the body you have when you are making, with care and curiosity.
A tape measure is one of the gentlest tools in sewing: it asks for no perfection, only honesty. Give yourself time, make a toile when the fit matters, and let each project teach you something. In a supportive sewing class, including those at Thread The Needle Workshop, that learning happens stitch by stitch and fitting question by fitting question.


Comments