
Garment Fitting Guide for Clothes You’ll Wear
A handmade garment can be beautifully stitched and still end up at the back of the wardrobe if it does not feel right when you move. This garment fitting guide is here to make that part of dressmaking less mysterious. Fitting is not about changing your body to suit a pattern. It is about helping a pattern work with the body you have, so you can sit, reach, walk and feel like yourself in the finished piece.
Start with the fit you want
Before measuring anything, decide how you would like the garment to feel. A crisp cotton shirt, a fitted bodice and an oversized sweatshirt all need different amounts of room. That extra room is called ease, and it is meant to be there. A close-fitting dress needs enough ease to breathe and move; a relaxed linen top may need far more.
Look at the pattern’s finished garment measurements as well as the body-measurement chart. The first tells you the size of the actual garment, while the second helps the pattern company suggest a starting point. Compare both with a similar item from your wardrobe that you already enjoy wearing. Lay it flat, measure it, and notice where it sits on your shoulders, bust, waist and hips.
This small bit of detective work can save a lot of unpicking. It also gives you permission to choose a size based on the finished look, not the number printed on the pattern envelope.
Take measurements without chasing perfection
Measurements are useful information, not a test. Wear close-fitting clothes or underwear, stand comfortably, and ask someone to help if possible. A flexible tape measure should lie flat against the body without pulling tight.
For most garments, begin with your high bust, full bust, waist and fullest hip. Your high bust is measured around the chest, under the arms and above the fullest part of the bust. It is particularly helpful for choosing bodice and dress sizes because many patterns are drafted around a standard cup size. If your high bust places you in one size but your full bust lands several sizes larger, a full bust adjustment may give a better result than simply sizing up everywhere.
Also measure the areas that often affect comfort but are easy to overlook: back waist length, shoulder width, upper arm, bicep, torso length and inside leg. You do not need every measurement for every project. A loose pull-on skirt will not demand the same attention as a fitted jacket.
Write your measurements down and date them. Bodies change, and there is nothing wrong with remeasuring before a new project. It is kinder and more accurate than relying on numbers from last year.
Use a toile before cutting your good fabric
A toile, sometimes called a calico or test garment, is one of the most useful habits in this garment fitting guide. It is a simple version of your garment made in inexpensive fabric with a similar weight and drape to the final cloth. You do not need to finish seams, add a zip or make perfect buttonholes. You are checking shape, balance and movement.
Choose test fabric carefully. A stiff calico may be fine for a woven blouse or skirt, but it will not tell you much about a soft viscose dress or a stretchy jersey top. For those, use an affordable fabric that behaves more like your chosen fabric. Drape and stretch can change the fit as much as a centimetre added at a side seam.
Put the toile on inside out, with the centre front and centre back marked. Pin the garment closed where its fastening will be, then look at it in a mirror from the front, side and back. Take photographs if you can. A photo often shows pulling lines or a dipping hem more clearly than the mirror does.
Do not judge a toile only while standing still. Sit down, lift your arms, bend forward and take a few steps. If the garment feels restrictive during these ordinary movements, it is giving you useful information.
Read the clues your garment is giving you
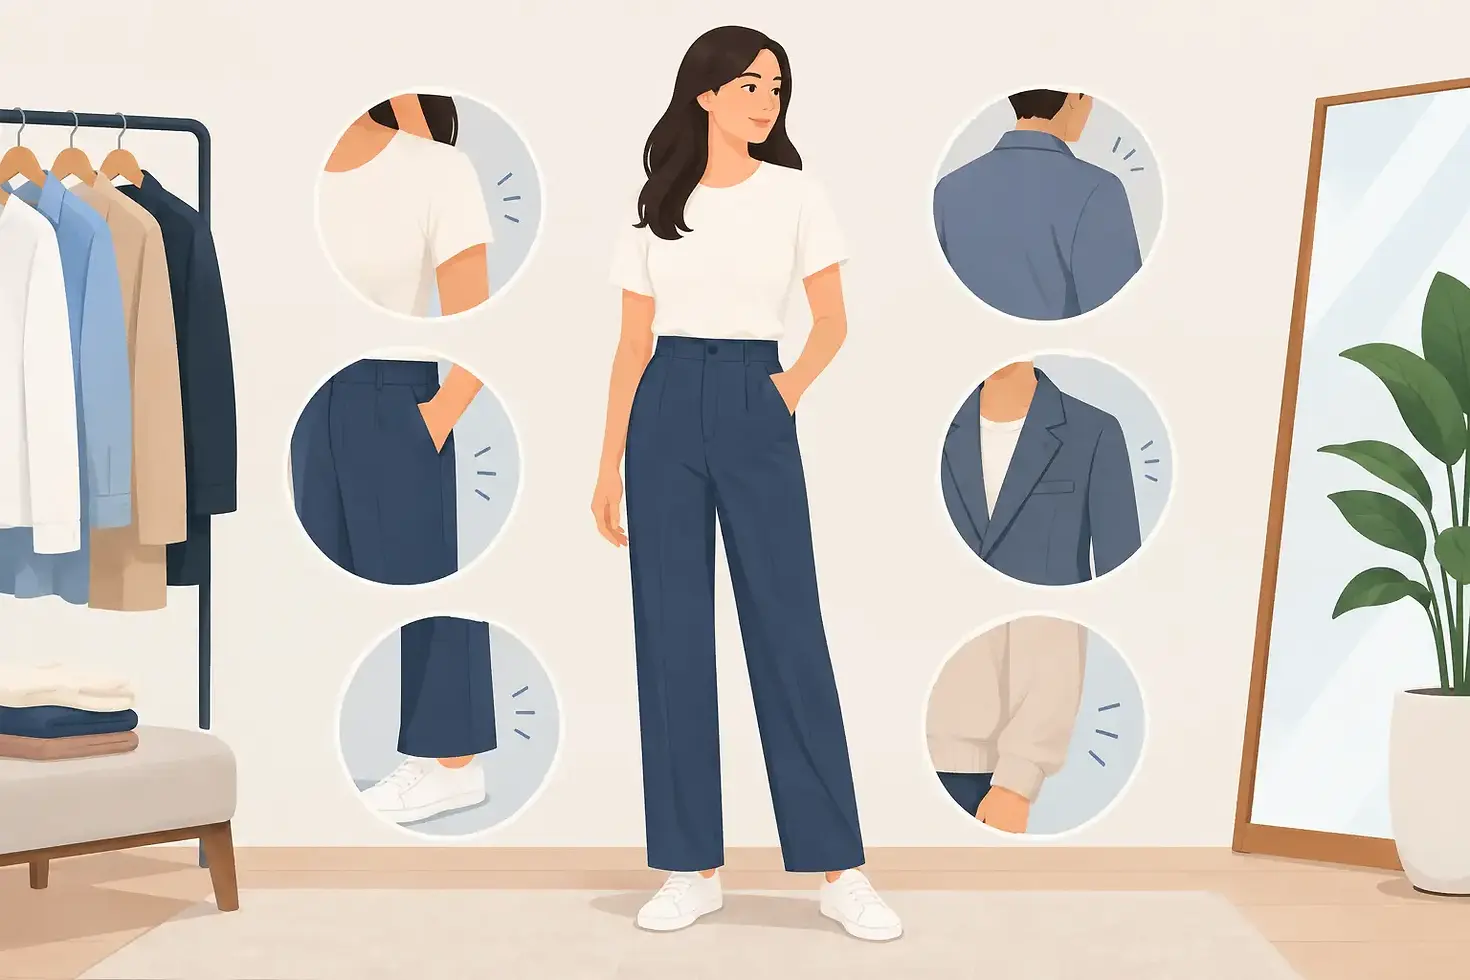
Wrinkles are not always a problem. Soft folds in a relaxed garment are part of its design. But diagonal pulling lines, a neckline that gapes or a hem that rises at the front can point to a place where the garment needs more room, less room or a different shape.
If horizontal lines pull across the bust, upper back or hips, the area may need more width or length. If fabric pools around the lower back, you may need to remove length there. A waistband that tilts upwards at the front can suggest that more length is needed through the front body. Sleeves that feel tight when you reach forwards may need more room at the bicep, but they can also be affected by the shape and position of the armhole.
This is why it helps to change one thing at a time. A garment can look wrong for several reasons, and rushing into several adjustments makes it difficult to tell what worked. Pin a change, check your movement again, then transfer the alteration to the paper pattern once you are happy.
Make the most useful adjustments first
There are countless fitting adjustments, but beginners do not need to learn them all before making clothes. Start with the adjustments that affect the garment’s overall balance: length through the bodice, bust shaping, waist and hip room, shoulder position and sleeve comfort.
A full bust adjustment adds room and shaping at the bust without making the shoulders and neckline too large. A small bust adjustment does the reverse. Lengthen or shorten lines on a pattern allow you to add or remove length in a specific area, rather than simply chopping the hem off and changing the garment’s proportions.
Grading between sizes is another practical skill. You might use one size at the bust, another at the waist and a third at the hip, blending gently between the cutting lines. This is extremely common. Pattern sizes are not body types, and there is no prize for cutting one size throughout.
For trousers, pay attention to the crotch curve as well as the waist and hips. Adding width at the side seams can make the waist larger without solving tightness through the seat or thigh. For shirts and dresses, check the shoulder fit early. A shoulder that is too wide or narrow can affect the sleeve, neckline and whole look of the garment.
Fit at the right stage of construction
Some checks belong before you sew, while others need the garment to be partly assembled. Try on a bodice after the shoulder and side seams are stitched, but before finishing the neckline or inserting a zip. Check trousers with the front and back joined at the side and inner leg seams, before attaching the waistband. Leave hems until the end, when you can see how the garment hangs on your body.
Baste where you expect to adjust. A longer machine stitch is quick to remove and much friendlier than committing to a small permanent stitch too soon. Press seams as you go, because an unpressed seam can make a fit issue look worse than it is.
If you are working with a slippery, bulky or stretchy fabric, fitting becomes more dependent on fabric behaviour. Knit garments need the correct stretch percentage and often benefit from trying on as you sew. Thick denim or coating may feel tighter once seams are pressed and layered. There is no single rule that works for every cloth.
Be honest about what a pattern can offer
A good fit does not always mean a skin-tight fit, and a few small lines do not mean you have failed. Ready-to-wear clothes are also shaped with compromises, including fabric stretch, elastic, clever cutting and generous ease. Your handmade garment has the advantage of being made for your preferences, but it still needs to suit its design.
If a boxy top is meant to drop from the shoulders, do not force it to fit like a tailored shirt. If a fitted vintage-style dress feels uncomfortable after several toile adjustments, consider whether a different pattern or fabric would better support the look you want. Sometimes the most skilled decision is to change the plan rather than keep fighting it.
At Thread The Needle Workshop, fitting is approached as a learnable part of making, not a secret reserved for experienced dressmakers. A patient second pair of eyes can help you spot what is happening, pin an alteration safely and build the confidence to make the next decision yourself.
Keep a record for your next project
When you have found adjustments that help, note them on the pattern envelope or in a sewing notebook. Record the size you started with, what you changed, the fabric used and whether you would add more or less ease next time. Photographs of the toile and final garment are useful too.
Over time, you will begin to recognise your own fitting preferences. Perhaps you regularly shorten bodices, need more room through the upper arm or prefer a little extra ease at the waist. That knowledge turns each new project into a calmer, more creative experience.
The aim is not a garment that looks perfect in a photograph. It is a garment you reach for on an ordinary morning, because it feels comfortable, looks like you and carries the quiet pride of something you made by hand.


Comments